

How To Edit Only Certain Parts Of A Photo In Photoshop
I ran a entrada on my site and asked people the tutorials which they want to read next. And, changing the color of specific areas is on the listing. Time to show y'all how to alter the color of specific areas in Photoshop.
The most demanding tutorial was adding shadow in Photoshop and I wrote a tutorial on that 2 days ago.
Here's the program for today'south tutorial. First, we're going to select the area where you want the color to be replaced. We will do information technology with the help of the Quick Selection tool (because it's my favorite). So nosotros'll utilize Hue and Saturation to change the color. Later on that, I'll show your one bonus technique which yous tin also apply.
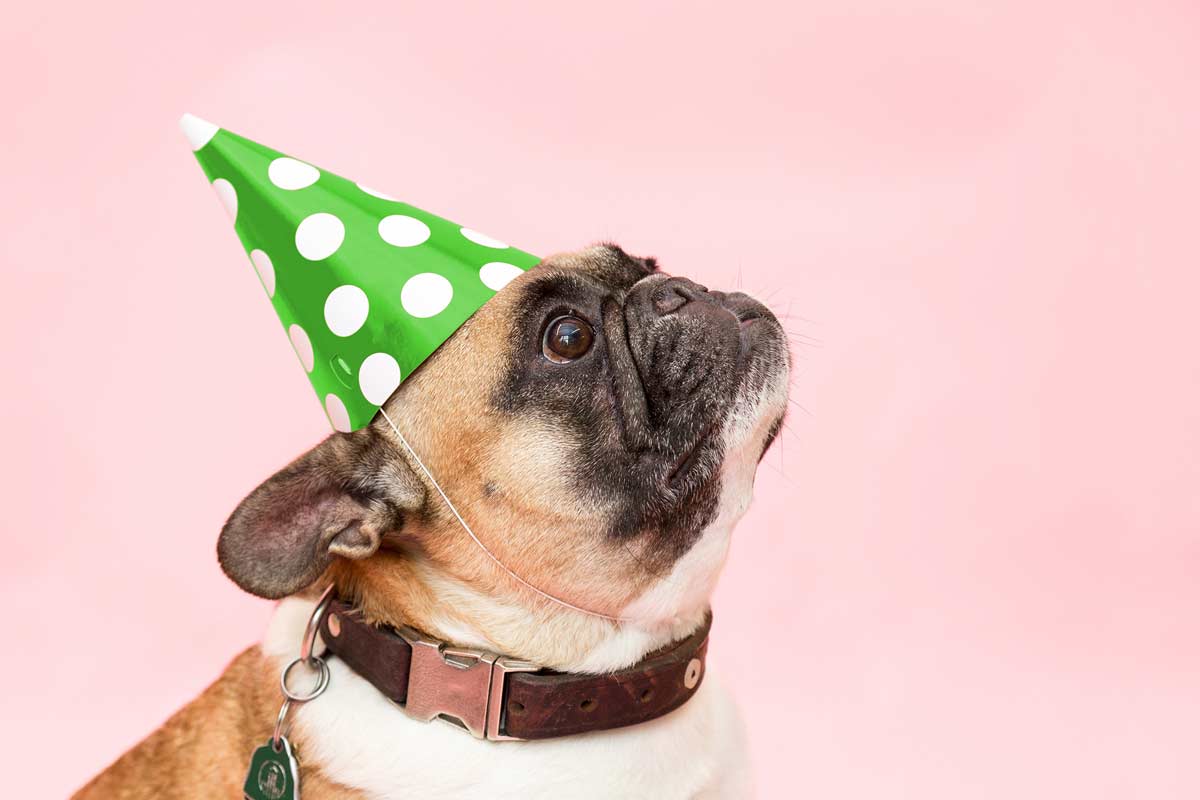
Terminal image

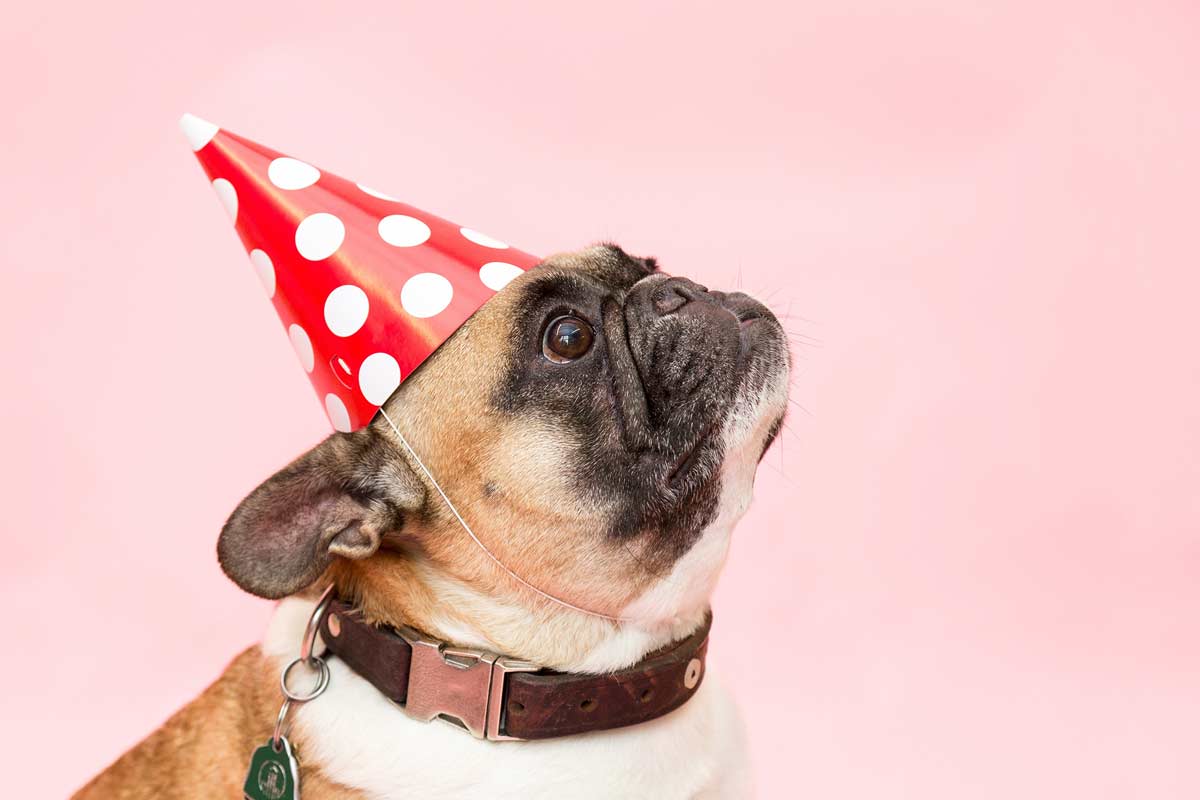
Initial image
Allow'south brainstorm the tutorial
Video
If you lot similar watching videos, here's the video tutorial for you.
Step one – Select the area
I am going to change the colour of the hat.
Grab the Quick Selection Tool from the toolbar or pressShift + Wagain and once more until it comes.
Start dragging it on the area to select.

In one case done, here is my paradigm.
If you take accidentally selected something unwanted, hold downOpt/Altand brush over the unwanted surface area. This will deselect that area.

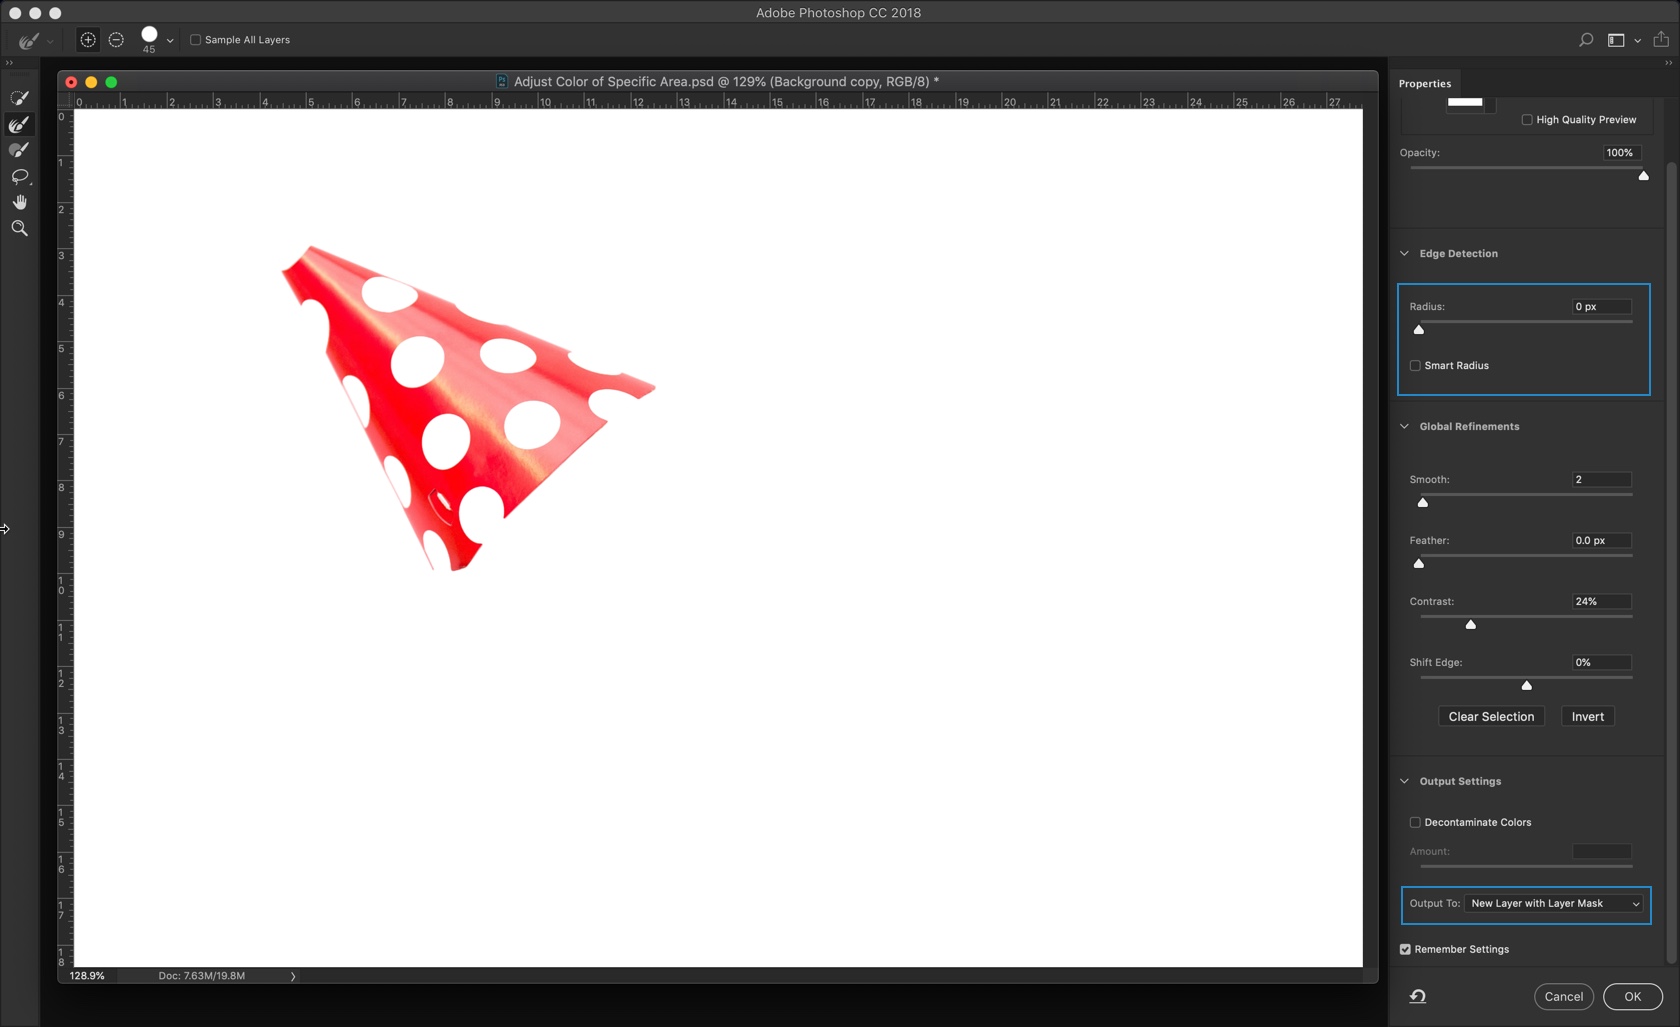
Step 2 – Refine the Selection
Open up Select and Mask if y'all're using Photoshop CC 2017 and newer. I like to keep the smart radius as 0 as I don't like its effect. Rather I prefer to use Refine Border brush for the refined selection. Press OK once washed.
This volition create a new layer with the selection.
If you're using older versions of Photoshop, you can use Refine Border. I cannot testify how to practice it via Refine Edge considering it is not there in Photoshop anymore. But, you tin refer the tutorial that I wrote when the tool was nowadays.
Pace 3 – Change the Colour of Specific Areas in Photoshop
We're going to use Hue and Saturation to modify the color.
Go toLayer > New Adjustment Layer > Hue/Saturation.
The beginning thing nosotros need to do is to enableColorize.This will remove the colour of the selected area. I have put a rectangle on this box in the below screenshot so that information technology'll be easier for you to locate.
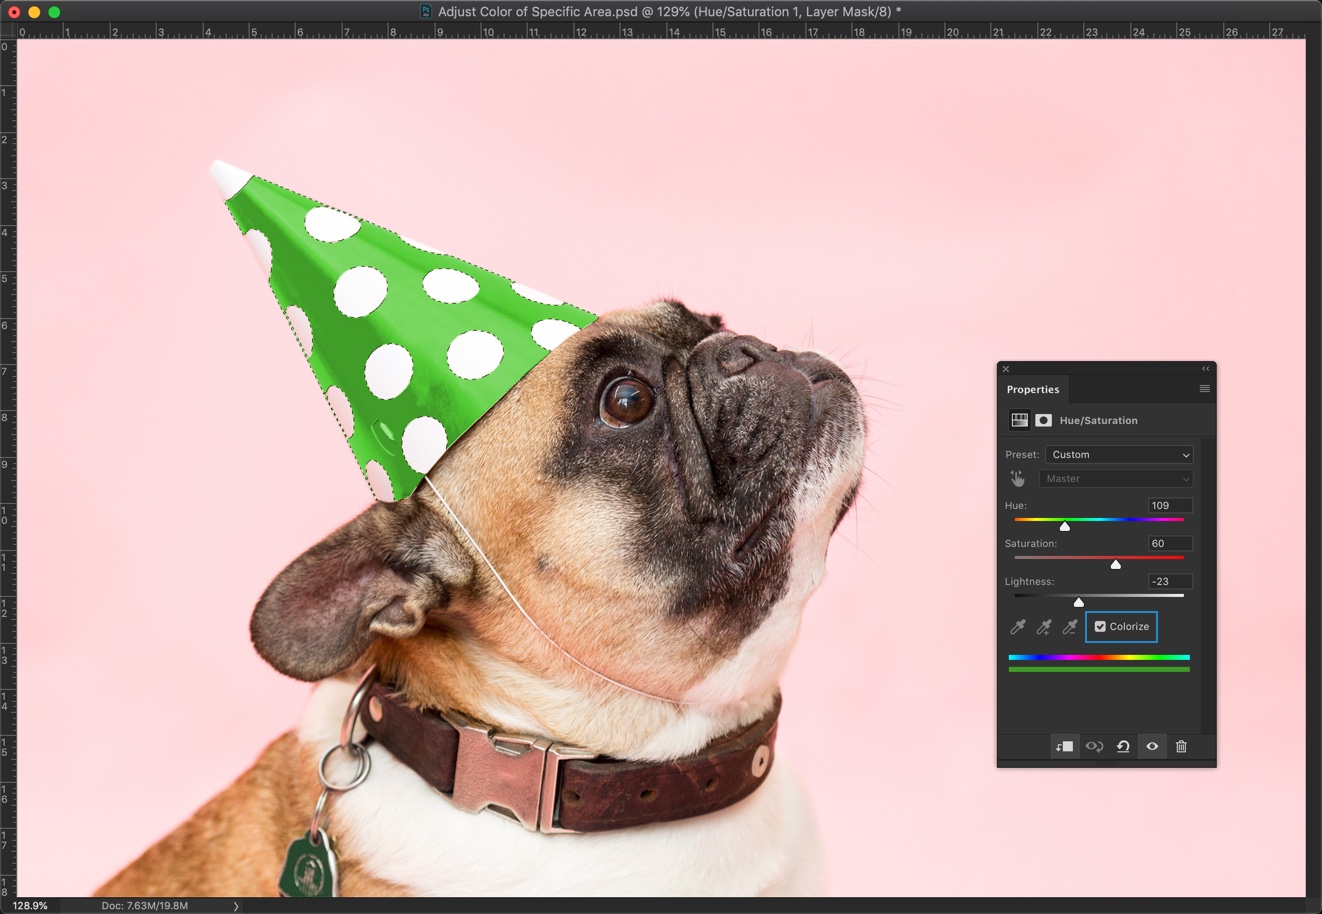
Next thing, I am going to practise is to play with the Hue, Saturation, and the Lightness sliders to become the color that I desire. I really like this green color so I am going to stick with information technology.
This is all. This is the concluding image.
Bonus Footstep – Change the color via Color Blend Mode
There's one more way to change the colour i.e. Color Blend Mode.
Nosotros're going to create a new layer, fill it with the desired color, and change the color or blend mode. That's all.
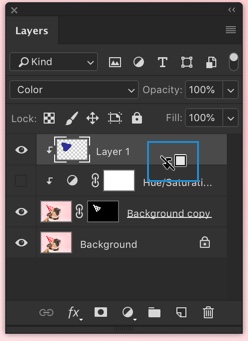
Create a new layer past pressingCmd + Shift + N/Ctrl + Shift + N.Prune the layer to the layer just below it. This volition ensure that it will only impact the layer only below it. Concord downwardOpt/Altand put the mouse cursor just in between the two layers. You'll see that the cursor changes its icon as shown below. At present click the mouse button.
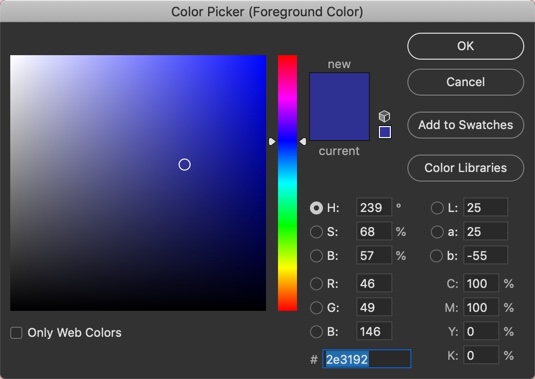
Change the foreground to your desired colour. This will be the last color of the surface area.
PressOpt + Delete/Alt + Backspaceto fill up the layer with the foreground color. Change the blend mode to Color.
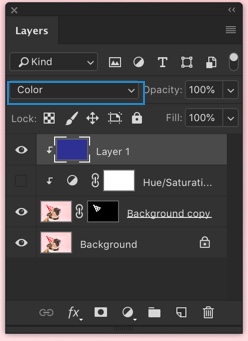
That'southward all! But as you'll see that the layer is clipped to its below layer, it will only affect the choice.
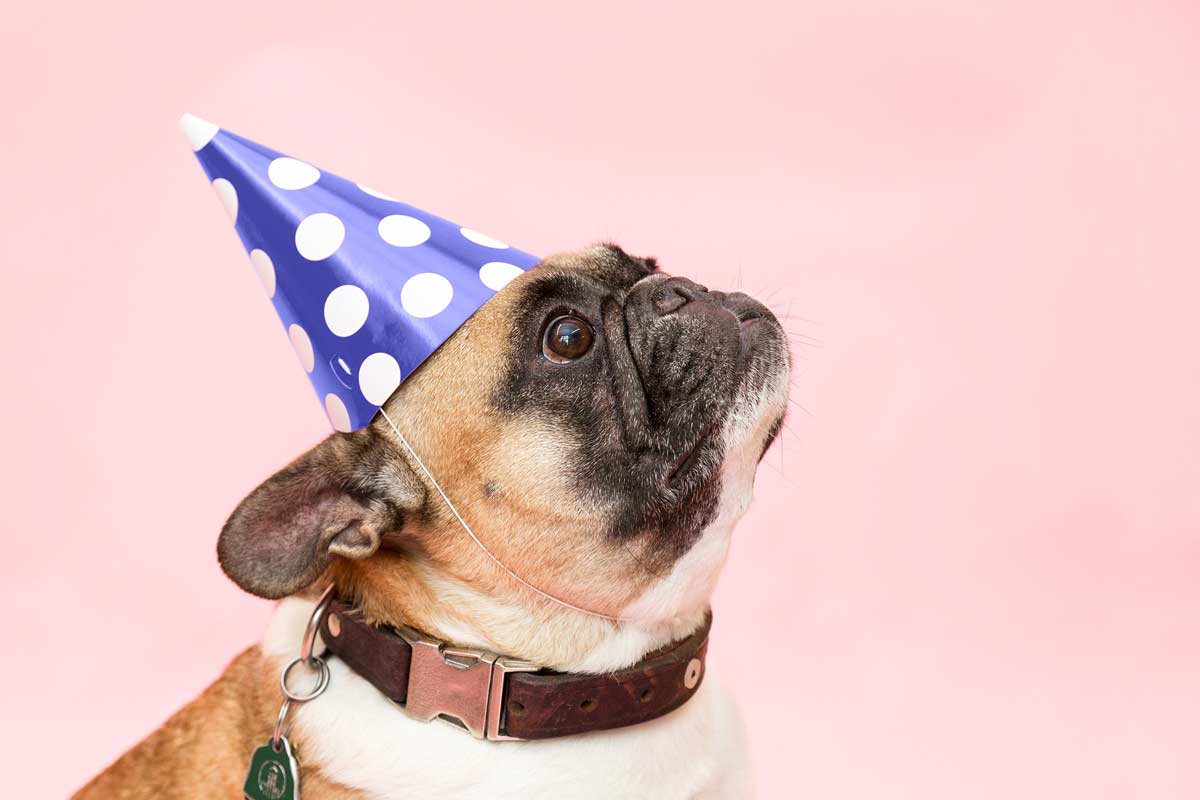
This is all.
Brand sure that become the nearly out of the below offer.
Source: https://tricky-photoshop.com/change-the-color-of-specific-areas-in-photoshop
Posted by: staffordannow1956.blogspot.com
0 Response to "How To Edit Only Certain Parts Of A Photo In Photoshop"
Post a Comment